Cleaning Your Catch After a Virginia Charter Trip
You've just wrapped up an incredible day on the water, perhaps reeling in a trophy striped bass from the Chesapeake Bay or a basket full of crappie from Smith Mountain Lake. The thrill of the catch is still buzzing, but then the inevitable question pops into your head: "Now what do I do with all this fish?" For many anglers, especially those on a guided Virginia fishing charter, the post-trip logistics of cleaning your catch can feel a bit daunting. This comprehensive guide will walk you through everything you need to know about preparing your fresh haul, from understanding charter policies to proper filleting and storage, ensuring your delicious day on the water extends all the way to your dinner table.
Understanding Your Charter's Policy on Cleaning Fish
It's easy to get caught up in the excitement of planning your fishing trip – the anticipation of the bite, the fight, the photo opportunities! But one crucial detail often gets overlooked until you're back at the dock, tired and triumphant: who cleans the fish? This isn't a universal "yes, they always do it" situation, and understanding your specific charter's policy beforehand can save you a lot of hassle and potential disappointment.
What Most Virginia Charters Offer and What They Don't
Many Virginia fishing charters, particularly those specializing in saltwater trips out of places like Virginia Beach or along the Chesapeake Bay, offer fish cleaning as a standard, or at least an optional, service. This is especially true for species like striped bass (often called "rockfish" here), flounder, and other common catches. The crew members are usually incredibly skilled and efficient at filleting, often capable of processing a cooler full of fish in what feels like minutes. They know exactly how to maximize the yield from each fish, ensuring you get the best possible fillets from your hard-earned catch. Sometimes, this service is included in the charter price, especially for shorter trips or when targeting certain species. However, it's also very common for there to be an additional fee, often charged per fish or per cooler, to cover the crew's time and effort. This fee is separate from the standard tip for their excellent work guiding you to the fish.
On the flip side, some charters, particularly smaller, inland freshwater guides focused on lakes like Smith Mountain Lake or rivers like the James for bass or catfish, might not offer this as a routine service. Their boats might not be equipped for it, or their focus is purely on the catching experience, expecting anglers to handle their own post-trip processing. Even if they do offer it, their facilities might be more basic, or the service might be limited to just gutting the fish rather than full filleting. It’s important to clarify these details, as showing up with a cooler full of fish and an expectation that the captain will do all the work can lead to an awkward situation. Always assume nothing and ask every question you can think of before you even step on the boat.
Asking the Right Questions Before You Book or Before You Dock
The best time to figure out the fish cleaning situation is before you even confirm your booking. When you're talking to a charter captain or booking agent, whether it's for a Virginia Fishing Charters and Guides: The Complete Guide or a specific Striped Bass Charter Fishing in Virginia, make it a point to ask about fish cleaning. Specifically, inquire: "Do you offer fish cleaning services?" If they say yes, follow up with: "Is there an additional charge for this service, and if so, how is it calculated (per fish, per pound, flat fee)?" Also, ask about the level of cleaning – do they just gut, or do they fillet and skin? Some might even package your fillets in bags ready for the cooler.
If you forget to ask beforehand, or if you're feeling a little shy, the next best opportunity is at the dock, either right before you depart or as you're heading back in. A simple, polite question like, "Captain, what's your policy on cleaning our catch?" can open the conversation. Reputable charter services, often found through platforms like FishingBooker, will clearly outline these services, either on their website or during the booking process. Don't be afraid to be explicit; it's part of ensuring a smooth and enjoyable experience from start to finish. You want to make sure you know What to Expect on Your First Fishing Charter, and that includes post-trip logistics.
The Cost Factor: Cleaning Fees and Tipping
As mentioned, cleaning fees can vary. Some charters bundle it into the overall trip cost, especially if they anticipate a smaller haul or certain species. Others charge a nominal fee per fish, sometimes a few dollars for smaller fish, or slightly more for larger, more labor-intensive species like a big striped bass. These fees are designed to compensate the crew for their time and expertise in processing your catch efficiently and cleanly. It's often a small price to pay for the convenience and quality of having a professional handle it.
Beyond any explicit cleaning fee, it's customary to tip your charter crew. These hardworking individuals put in long hours, navigating the waters, putting you on the fish, helping with tackle, and often handling the cleaning. A general guideline for tipping is 15-20% of the total charter price, and this tip covers their overall service, including their efforts to clean your fish. If they've gone above and beyond, consider tipping at the higher end of that range. Remember, the cleaning fee (if any) is a separate charge to cover the service itself, while the tip is a gratuity for their excellent work and hospitality throughout the entire day. Understanding Tipping Norms for Virginia Fishing Charter Crews will help ensure you show your appreciation appropriately.
| Service Provided by Charter | Typical Cost Implication | When to Confirm |
|---|---|---|
| Full Filleting & Skinning | Often an extra fee, or included for specific trips | Before booking, or at dock |
| Gutting Only | Less common, sometimes included, check | Before booking |
| No Cleaning Service | Expect to do it yourself, or find a dockside service | Essential to confirm before booking |
| Provision of Bags/Ice | Usually included, but confirm amount | Before booking |
| Expertise in Maximizing Yield | Value for money, even if extra cost | During booking query |
Essential Gear for Cleaning Your Catch at Home or the Dock
Sometimes, despite your best efforts, your charter simply doesn't offer fish cleaning, or maybe you just prefer the satisfaction of doing it yourself. Perhaps you're on a Smith Mountain Lake Fishing Guides in Virginia trip that focuses more on the catch-and-release experience, but you kept a few for the pan. Whatever the reason, if you're going to clean your own fish, having the right tools makes all the difference. Skimping on gear can turn a rewarding task into a frustrating, messy chore.
Basic Fillet Kit: Knives, Boards, and Gloves
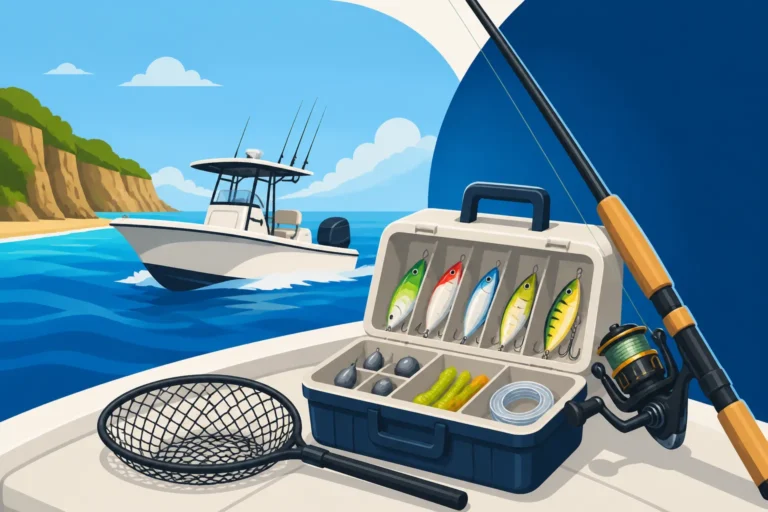
First and foremost, you need a good quality fillet knife. This isn't just any kitchen knife; a fillet knife is designed specifically for breaking down fish. It has a thin, flexible blade, usually 6-9 inches long, that allows you to easily separate flesh from bone and skin. A sharp knife is not just more efficient, it's also safer because it requires less force. Consider bringing a knife sharpener or honing steel with you to keep your blade razor-sharp throughout the process. A dull knife will only tear the flesh and make the job much harder. Some anglers even bring a couple of knives – a slightly longer, stiffer one for initial cuts and a more flexible one for skinning.
Next, you'll need a sturdy cutting board. A dedicated fish cleaning board is ideal, often made from marine-grade plastic or polyethylene. These boards are non-porous, easy to clean, and often feature a clamp to hold the fish's tail, preventing it from slipping and sliding while you work. A good size is usually 18-24 inches long. Avoid using porous wooden boards that can absorb fish odors and bacteria. Finally, consider wearing a pair of cut-resistant gloves, especially if you're new to filleting. Accidents happen, and a good pair of gloves can protect your hands from slips, sharp fins, and errant knife blades. They also offer a better grip on slippery fish.
Maintaining Freshness: Coolers, Ice, and Bags
The moment a fish comes out of the water, its quality starts to degrade. The key to delicious fillets is maintaining freshness from catch to cleaning, and even after. You should always have a cooler full of ice readily available on your boat or in your vehicle at the dock. As soon as you decide to keep a fish, get it on ice immediately. This chills the fish rapidly, slowing down bacterial growth and preserving the texture and flavor of the meat. Don't just throw a few cubes in; you want a good ice-to-fish ratio. If your fish are swimming in melted ice water, that's not ideal. Drain the cooler periodically to keep the fish on fresh ice.
Once your fish are filleted, you'll want to place the clean fillets into separate plastic bags or vacuum-seal bags. This prevents freezer burn if you plan to freeze them and protects them from absorbing any unwanted odors from the cooler. Submerge these bagged fillets in fresh ice in a separate cooler for transport home. This "double-cooling" method ensures your fillets remain pristine until they hit your kitchen counter. If you're on a multi-day trip or have a long drive home, this step is absolutely critical. Remember, the colder you keep your fish, the better it will taste.
Waste Disposal Considerations
Cleaning fish creates waste: heads, guts, bones, and skin. It's crucial to dispose of this waste responsibly, not just for environmental reasons, but also to avoid attracting pests or leaving unpleasant odors. Many public fishing piers and boat ramps in Virginia will have designated fish cleaning stations with specific waste disposal chutes or bins. If you're using one of these, always follow their instructions. They are often designed to grind the waste or direct it into deep water currents away from swimming areas.
If there are no designated facilities, or if you're cleaning at home, you'll need a plan. Never just throw fish carcasses into a regular trash can, especially in warm weather, as the smell will quickly become unbearable and attract animals. One common method is to double-bag the waste in thick plastic bags and freeze it until trash day. This eliminates odors. Alternatively, if you're in a rural area with deep woods and it's allowed, burying the waste deep enough to deter scavengers is an option, though you should verify local regulations first. Some anglers even compost fish waste, but this requires specific knowledge to do correctly without creating major odor problems. Responsible disposal is a key part of being a respectful angler and a good neighbor.
Step-by-Step Guide to Filleting Common Virginia Fish
Now for the hands-on part! Filleting fish might seem intimidating at first, but with a sharp knife and a bit of practice, you'll be a pro in no time. Different fish species have different body shapes and bone structures, so while the basic principles remain, there are nuances to learn. Let's break down some common Virginia catches.
Filleting Striped Bass (Rockfish): A Popular Catch
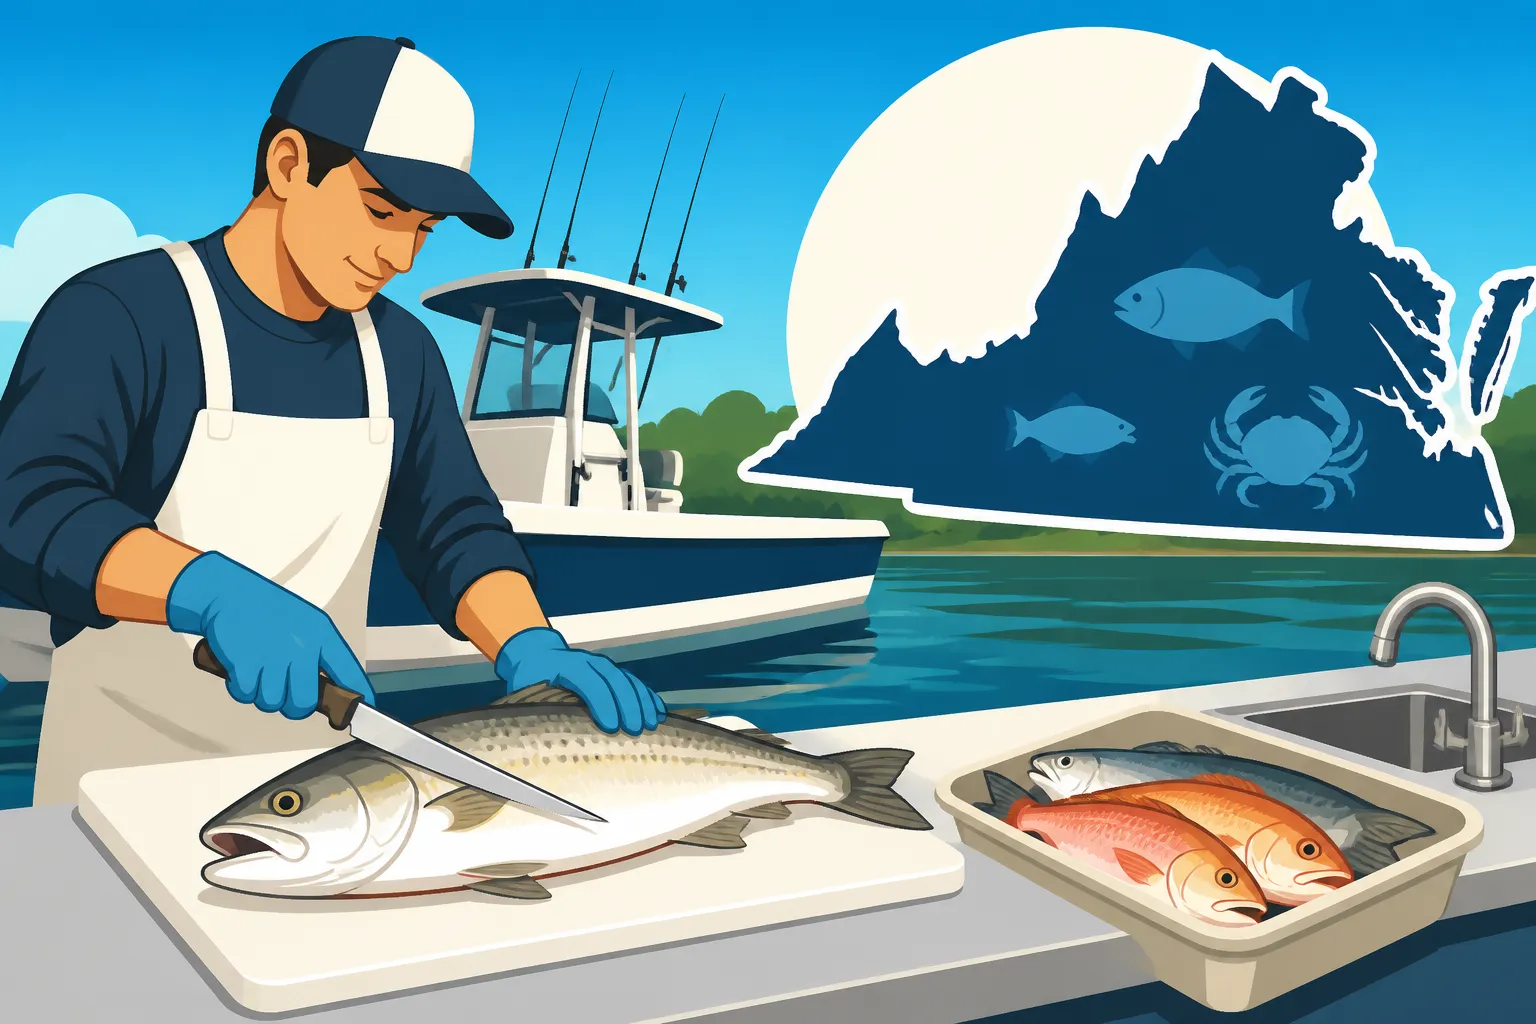
Striped bass, or rockfish as they're often called, are a fantastic table fish, and their sturdy bone structure makes them relatively straightforward to fillet. First, lay the fish on its side on your cleaning board. Make an incision behind the gill plate, cutting down towards the backbone but not through it. Stop when you feel the bone. Next, turn your knife parallel to the backbone and make a long, smooth cut along the top of the backbone, from the first incision all the way back to the tail. Keep the blade as close to the spine as possible to maximize your meat yield.
Once you've cut along the backbone, you'll notice the rib cage. Gently work your knife over the ribs, angling the blade slightly to follow their curve, separating the fillet from the ribs. Again, try to get as much meat as possible. Finally, once the fillet is mostly detached from the body cavity, you'll have a skin-on fillet. To remove the skin, lay the fillet skin-side down on the board. Hold the tail end firmly with one hand (or use your clamp) and angle your knife slightly down, almost parallel to the board, between the flesh and the skin. Saw gently back and forth while pulling the skin away from the knife. You should be left with a beautiful, skinless, boneless fillet. Repeat on the other side. Remember that Virginia's Striped Bass Slot Limit: 28 to 31 Inches means you're generally cleaning good-sized fish, so take your time.
Cleaning Flounder: A Flatfish Approach
Flounder are flatfish, meaning they require a different approach than roundfish like striped bass. Lay the flounder dark-side up on your cleaning board. You'll notice a lateral line running down the middle of its body. Make a deep incision down this lateral line, from head to tail, all the way to the backbone. Now, from that central cut, make cuts along the top and bottom of the fish, following the outline of the backbone towards the head and tail, essentially quartering the fish's top side.
Next, you'll carefully slide your fillet knife under one of these sections of flesh, working from the central cut outwards towards the edge of the fish. Keep your knife flat against the bones, separating the fillet. Repeat this process for all four quadrants on the top side. You'll end up with four thin fillets from the top. Then, flip the fish over to its white underside and repeat the entire process, yielding another four fillets. Flounder fillets are typically thinner and more delicate than rockfish fillets, so handle them gently. They are almost always skinned during this process, so you'll be left with boneless, skinless portions ready for the pan.
Handling Panfish and Smaller Catches
For smaller fish like crappie, yellow perch, or bluegill, you have a couple of options. Many anglers choose to scale and gut them, leaving them whole to be pan-fried or deep-fried. This method involves using a fish scaler or the back of a knife to scrape off the scales, moving from tail to head. Then, make a cut from the vent (anus) up to the chin, opening the body cavity. Remove all the internal organs, scraping out any bloodline along the backbone with your thumb or a spoon. Rinse thoroughly, and they're ready for seasoning and cooking. This is a fantastic way to enjoy a whole fish, with the bones adding extra flavor during cooking.
If you prefer fillets, the process is similar to striped bass but on a smaller scale. Make an incision behind the gill plate, down to the backbone. Then run your knife along the backbone to the tail. Carefully work around the rib cage. For really small panfish, you might find it easier to just remove the two main fillets from each side, often leaving the skin on as it can be tricky to remove from such thin flesh. Some anglers even "butterfly" panfish, cutting along one side of the backbone, then over the top of the backbone to open the fish flat, removing the spine and leaving two connected fillets. These smaller fillets are perfect for a quick fry-up and make for excellent, tender eating.
Proper Storage and Transport to Preserve Quality
You've put in the effort to catch and clean your fish, now don't let all that hard work go to waste by improper storage. The goal is to get your fish from the cleaning station to your plate (or freezer) in the best possible condition. This means paying close attention to temperature and protection.
Icing Down Your Fillets for the Journey Home
Once your fish are filleted and bagged, the clock is ticking. You need to keep them cold, very cold. The best way to transport your freshly cleaned fillets, especially if you have a drive ahead, is to submerge them in an ice-filled cooler. It’s not enough to just lay them on top of the ice. The fillets should be surrounded by ice, which maintains a consistent, near-freezing temperature that significantly slows down spoilage. Ensure your bags are sealed well to prevent any ice melt from seeping in and waterlogging your precious fillets. Nobody wants watery fish.
Consider having a dedicated "fillet cooler" for this purpose, separate from the cooler you used to hold whole fish. This helps maintain hygiene and prevents cross-contamination. If your journey is particularly long, periodically check the ice level and add more if needed. A good quality cooler can keep ice for days, but constant opening and warm conditions will speed up melting. Remember, the colder your fillets are, the fresher they will be when you finally get them into your kitchen. This diligence will pay off when you taste the difference.
Freezing for Long-Term Enjoyment
If you've had a truly epic day on the water, perhaps reeling in multiple limit-sized fish, you'll likely have more fillets than you can eat in a day or two. Freezing is an excellent way to preserve your catch for later enjoyment. For best results, consider using a vacuum sealer. Vacuum sealing removes all the air from the package, which is the enemy of frozen fish, causing freezer burn and degrading quality. Properly vacuum-sealed fish can last for several months in a standard freezer without significant loss of flavor or texture.
If you don't have a vacuum sealer, you can still freeze fish effectively using heavy-duty freezer bags or plastic containers. For freezer bags, try to press out as much air as possible before sealing. Another great trick, especially for fish not being vacuum-sealed, is to "glaze" the fillets with water. Place the fillet in a freezer bag, add just enough water to cover it, then freeze. The ice layer acts as a protective barrier against air. When it's time to cook, simply thaw the fish in the refrigerator overnight. Avoid thawing at room temperature, as this can encourage bacterial growth.
Avoiding Common Mistakes in Storage
There are a few pitfalls to avoid when storing your catch. One of the biggest mistakes is not cooling the fish quickly enough. Leaving fish in a warm environment after catching, or letting it sit in a cooler without enough ice, dramatically accelerates spoilage. Another common error is using flimsy bags or wrapping that allows air exposure in the freezer, leading to freezer burn. That white, dry, leathery texture is a sure sign your fish has suffered from air exposure.
Overstuffing coolers or freezer bags is also a no-no. Give your fish room to breathe (or rather, chill). For vacuum-sealed portions, ensure they are flat and thin for faster freezing and thawing. Don't forget to label your packages with the date and type of fish. It's easy to forget what's what after a few weeks in the freezer. Proper labeling helps you rotate your stock and ensures you're eating your oldest fish first. Your careful handling from water to freezer is a direct investment in the quality of your future meals.
Making the Most of Your Fresh Virginia Catch: Cooking Tips
So, you've successfully caught, cleaned, and properly stored your fish. Now for the reward: a delicious meal! Fresh Virginia fish, whether from the Bay or an inland lake, offers incredible flavor. The best way to enjoy it is often through simple preparations that let the natural taste of the fish shine through.
Simple Preparations for Fresh Fillets
When you have super fresh fillets, less is often more. One of the most popular and easiest ways to cook fish is pan-frying or baking. For pan-frying, pat your fillets dry with a paper towel – this is crucial for getting a nice, crispy crust. Season simply with salt, black pepper, and perhaps a little garlic powder or paprika. You can dredge them lightly in flour or a cornmeal mixture for extra crispiness. Heat a skillet over medium-high heat with a little olive oil or butter. Cook the fillets for about 3-5 minutes per side, depending on thickness, until they are golden brown and flake easily with a fork. Don't overcook; fish cooks quickly and can dry out if left on the heat too long.
Baking is another effortless option, especially for thicker fillets like those from a good-sized striped bass. Preheat your oven to around 400°F (200°C). Place the seasoned fillets on a baking sheet lined with parchment paper or foil. Drizzle with a little olive oil, add a squeeze of lemon juice, and maybe a sprinkle of fresh herbs like dill or parsley. Bake for 10-15 minutes, again depending on thickness, until cooked through and opaque. Is Largemouth Bass Good to Eat? Absolutely, and these simple methods are perfect for bringing out their mild, flaky goodness.
Beyond Fillets: Using the Whole Fish
While filleting is popular, some fish are excellent cooked whole, especially smaller panfish like crappie or perch, or even medium-sized trout. Cooking a fish whole often results in a more flavorful and moist meal because the bones and skin help retain moisture and impart a deeper flavor. After scaling and gutting, you can stuff the body cavity with aromatics like lemon slices, fresh herbs (rosemary, thyme), and garlic. Rub the outside with olive oil and seasonings.
Whole fish can be baked, grilled, or deep-fried. If grilling, ensure your grill grates are clean and well-oiled to prevent sticking. Cook over medium heat, flipping carefully until both sides are cooked and the flesh flakes easily. For deep-frying, a lightly seasoned breading or batter works wonders. Serving a whole fish makes for an impressive presentation and can be a fun experience, allowing diners to pick the tender meat directly from the bone. This method is particularly popular for species like Is Channel Catfish Good to Eat?, which are often fried whole or as large steaks.
Safety First: Handling and Cooking Guidelines
Food safety is paramount when dealing with fresh fish. Always wash your hands thoroughly with soap and warm water before and after handling raw fish. Use separate cutting boards and utensils for raw fish to prevent cross-contamination with other foods like vegetables or cooked items. If you're working at a dockside cleaning station, be extra vigilant about cleanliness.
When cooking, ensure your fish reaches an internal temperature of 145°F (63°C). The easiest way to tell if fish is done is by checking if it flakes easily with a fork at its thickest point. It should appear opaque throughout. If you're using a food thermometer, insert it into the thickest part of the fillet. Any leftovers should be refrigerated promptly and consumed within 1-2 days. Freezing cooked fish is also an option, though texture can sometimes change slightly. By following these simple safety and cooking guidelines, you'll ensure that your Virginia fishing adventure culminates in a safe, healthy, and incredibly delicious meal.
Disclaimer
This article is for general informational purposes only and does not constitute professional advice. Laws, prices and regulations vary by location and change over time. Consult a qualified professional for guidance on your specific situation.